Graphics Final Project

Contributors: Dominic Benintendi (Design & Implementation)
GitHub Repository: Link coming soon
Introduction
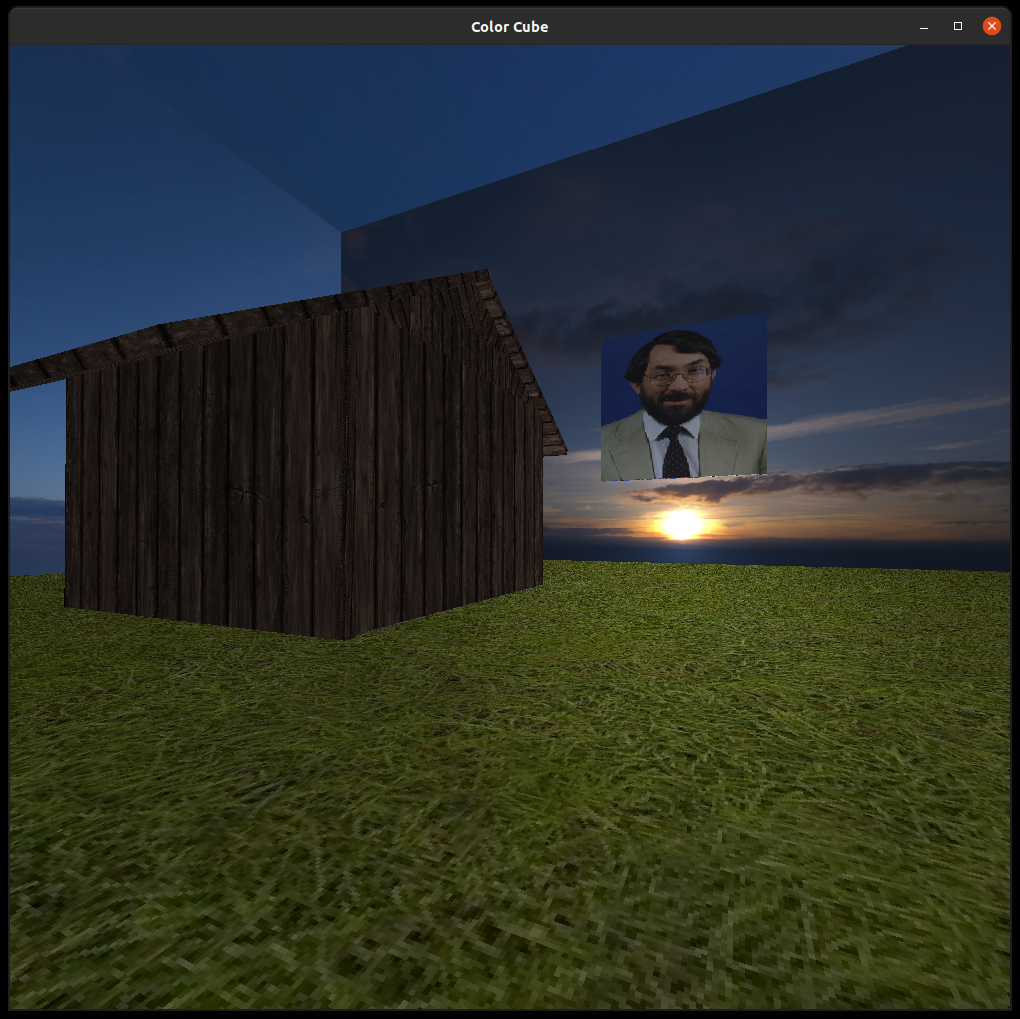
This project involved the development of a voxel-based 3D graphics engine in C++ using OpenGL. The goal was to create a first-person “duck game” experience rendered entirely with a custom engine. Through iterative development, modular design, and in-depth experimentation, the final product integrates core graphics concepts, including lighting models, texture mapping, and real-time mesh instancing.
Background and Motivation
The project was inspired by voxel-based games and the desire to understand the fundamentals of 3D rendering pipelines. Previous experience from the “Minecraft Light” assignment provided a starting point, where basic camera control and block placement were implemented. However, the initial codebase lacked modularity and scalability. This project aimed to build a clean, maintainable engine architecture with reusable components and extendable graphics features.
Methods
Engine Architecture
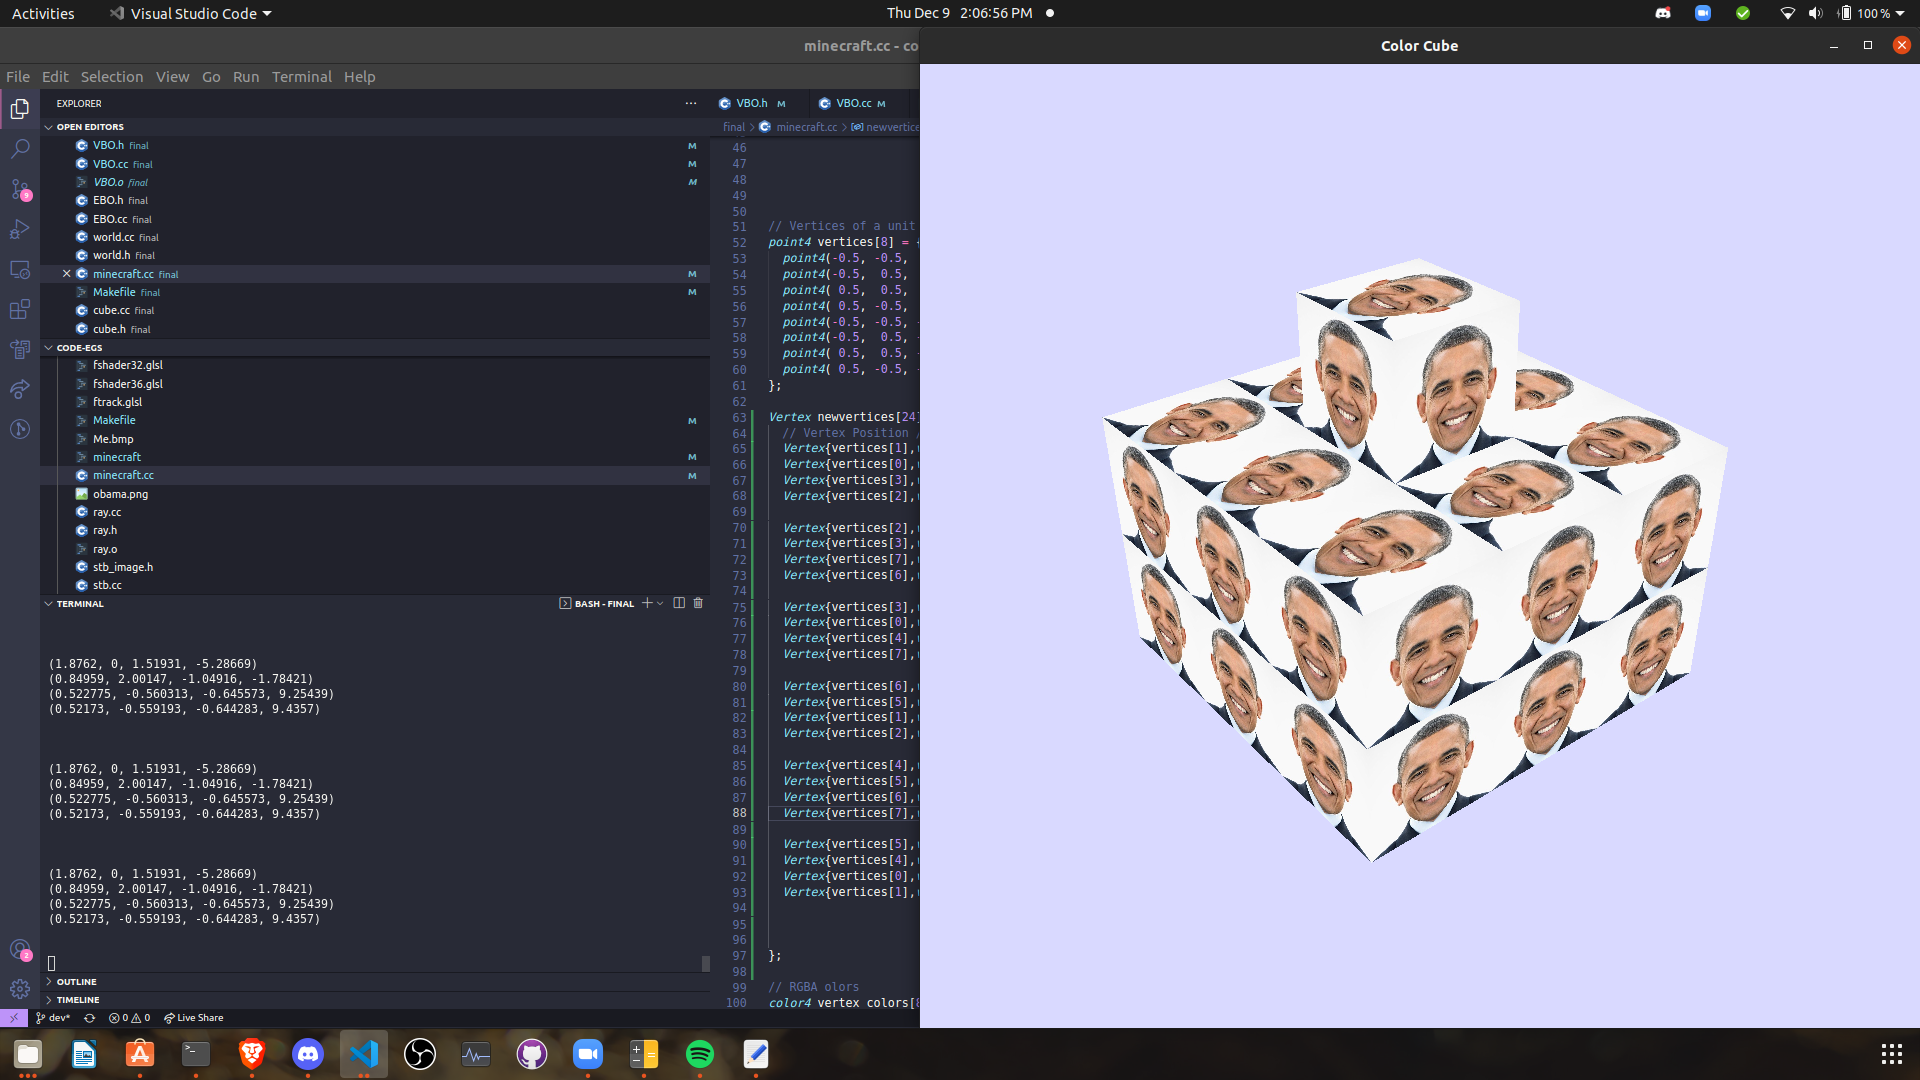
The engine was refactored to encapsulate key OpenGL constructs, VBOs, VAOs, and EBOs, into dedicated classes. A transition was made from glDrawArrays() to glDrawElements() to reduce data redundancy by using indexed drawing. Instead of sending 36 cube vertices directly, the engine now defines 24 unique vertices with attributes for position, color, normals, and UV mapping, using indices for efficient rendering.
Texture Mapping
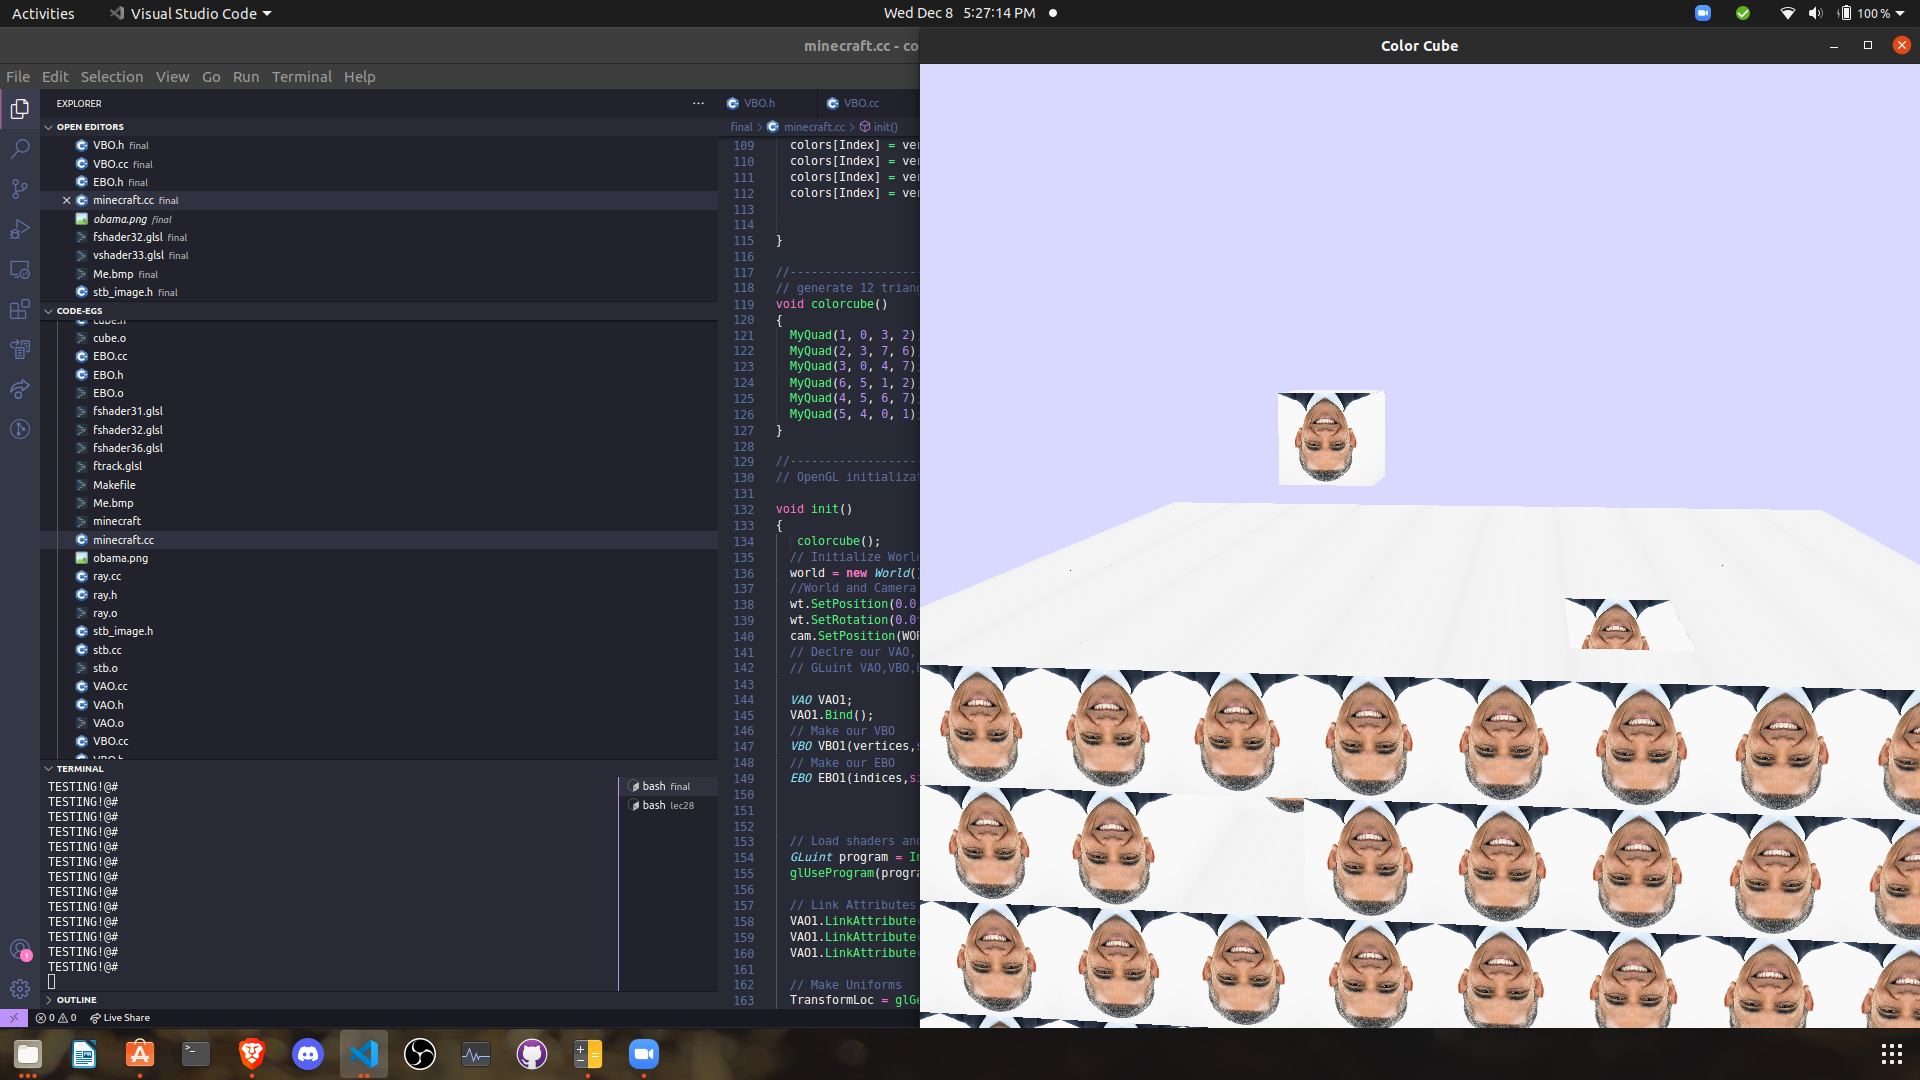
Texture loading was accomplished using the open-source stb_image library, which parses PNG images into buffer data. Applying textures to all six cube faces required resolving the mismatch between shared vertex positions and distinct UV coordinates or normals. The solution involved expanding the vertex array to 24 entries to capture these differences explicitly.

Lighting Implementation
The engine supports ambient, diffuse, and specular lighting:
- Ambient lighting applies a constant illumination level across all fragments.
- Diffuse lighting varies with the angle between the light source and surface normals.
- Specular lighting simulates reflected light and depends on both normals and the camera position.
Normals were embedded in the vertex array and used in the fragment shader for lighting calculations. A previously implemented camera class allowed straightforward access to view direction, enabling realistic specular highlights.
Mesh Abstraction and Instancing
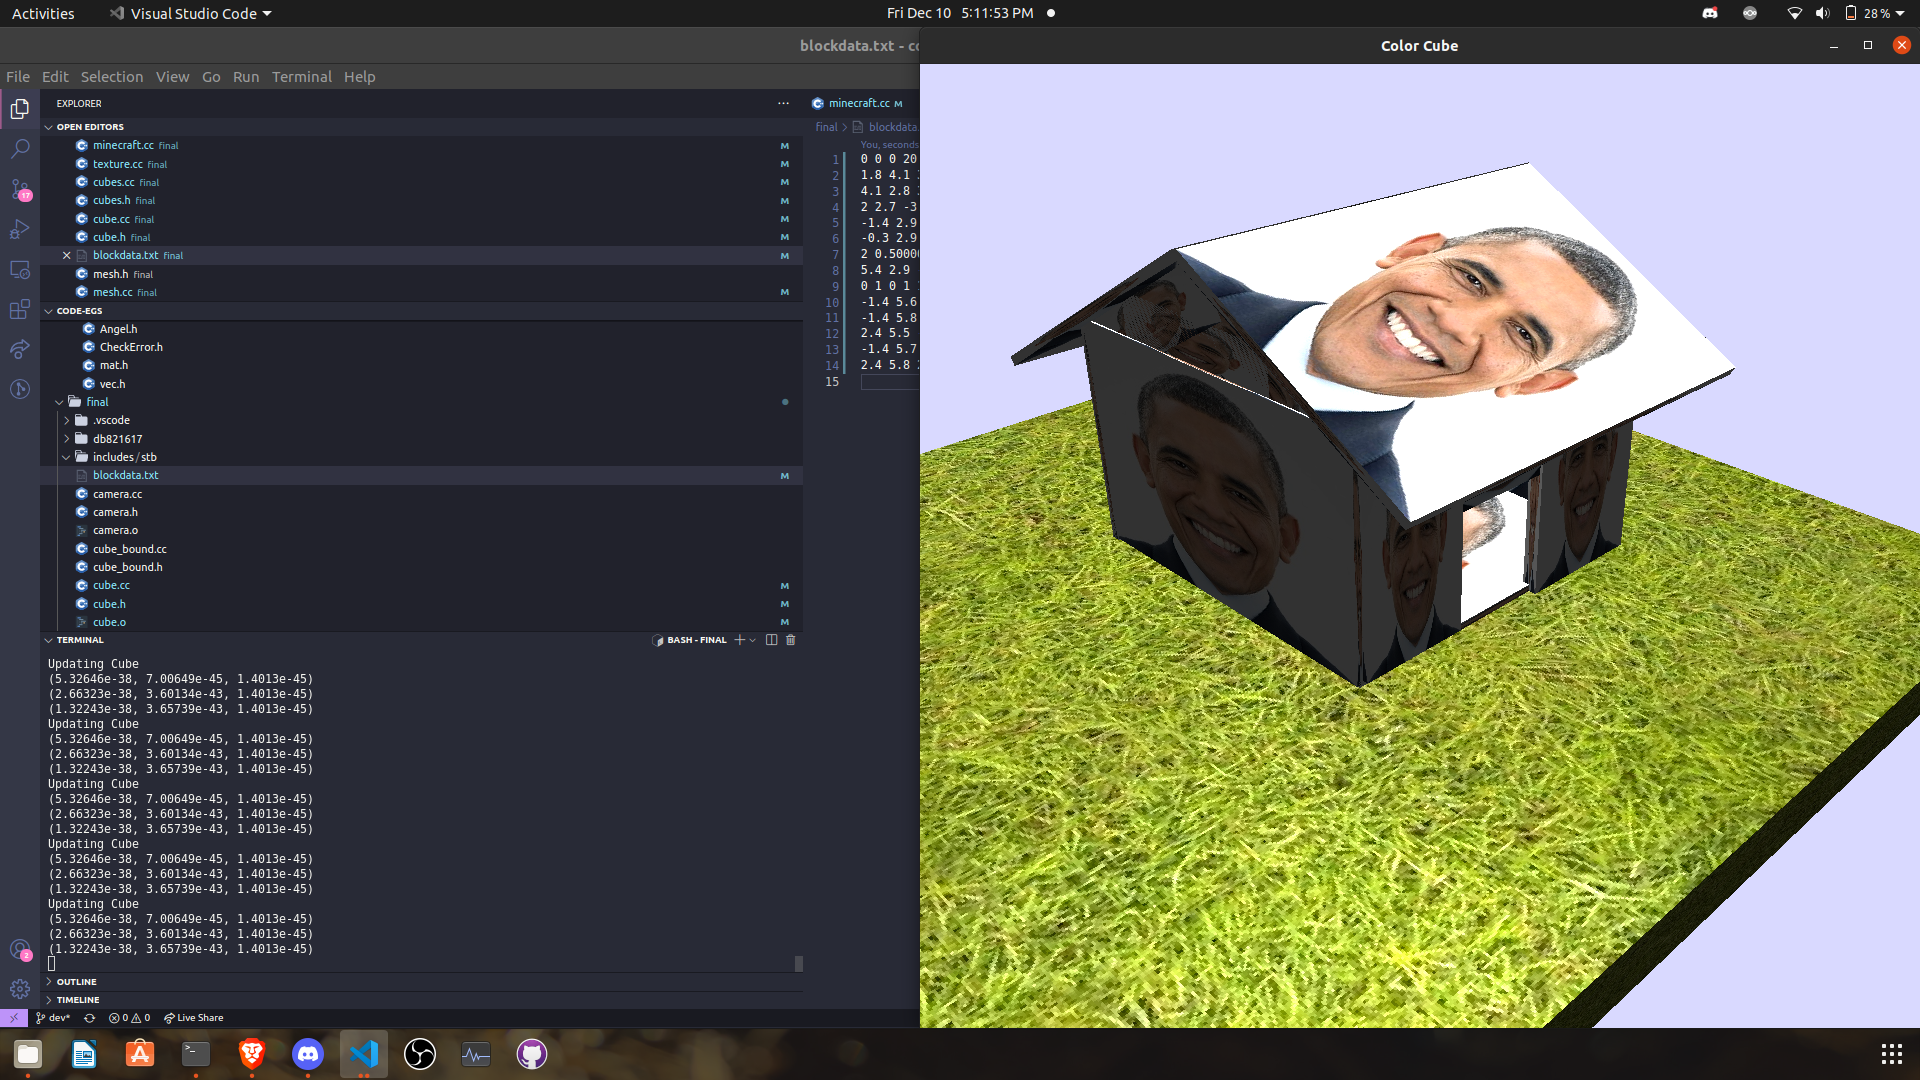
To automate object creation and improve flexibility, a generalized Mesh class was developed. This class contains all the logic required to render any indexed mesh and serves as a foundation for creating instances of renderable objects. A Cube wrapper class provides additional parameters for position, scale, and rotation, making it possible to instantiate arbitrary cubes with different transformations.

Editing Tools and World Persistence
An in-game editor was added to allow real-time modification of cube attributes, including:
- Position (vec3)
- Scale (vec3)
- Rotation (vec3)
- Texture index
All cube configurations are serialized to disk on exit and loaded on startup, enabling persistent worlds.

Camera and Interaction Modes
Two camera modes were implemented:
- Free-fly Camera Mode – standard 3D navigation with full control.
- Survival Mode – an FPS-style camera affected by gravity, featuring jump controls.
These interaction modes enhance usability and mimic game-like exploration mechanics.

Results
The final application demonstrates:
- Modular rendering with reusable mesh logic
- Dynamic lighting using real-time shading models
- Accurate texture mapping across all object faces
- A lightweight in-engine editor for live scene creation
- Persistent world saving/loading through file serialization
The voxel environment supports intuitive navigation and editing, and is expandable to include non-cube objects.
Known Issues
Some limitations in the current version include:
- Object collision does not account for rotated instances
- Normal vectors are not recalculated after object rotation
- Player collision detection is incomplete
- Mouse cursor remains visible during camera rotation
Future Improvements
Planned enhancements include:
- Support for external 3D model loading (e.g., OBJ files)
- Accurate collision detection system
- Implementation of a skybox and environmental lighting
- Use of specular maps for textured materials
- Addition of a HUD with a crosshair
Conclusion
This project significantly advanced my understanding of 3D graphics programming. The hands-on experience with OpenGL, mesh optimization, and shader development provided a deep appreciation for real-time rendering challenges. Beyond coursework, this engine lays the foundation for future personal game engine development. The system is designed to be scalable, reusable, and highly customizable—qualities essential to any robust rendering pipeline.